A sharp photo, taken in natural light on a neutral background, with the right angles and flaws clearly shown, can multiply your views by two to three compared with a photo taken in a rush on an unmade bed (photo-vinted.fr), and it makes your item sell noticeably faster. No need for a studio or expensive equipment: a window, a clean background and a five-step method are enough. This article gives you exactly this setup, angle by angle, so that every listing stops the scroll instead of drowning in the feed.
This method works whatever marketplace you sell on: Vinted, eBay, Leboncoin, Vestiaire Collective or Etsy. A good set of photos is not redone platform by platform: it is shot once and distributed everywhere.
Why does the photo decide (almost) everything on a second-hand listing?
On Vinted as on other marketplaces, the buyer judges a listing in a handful of seconds, almost only on the main photo: they read the description only if they are already convinced by the image. A listing with 5 or more photos converts about 50% better than a listing with a single image (grabon.com), and a white or neutral background increases sales by about 23% compared with a cluttered or coloured background (cliptics.com).
It is not specific to fashion: 9 online buyers in 10, across all sectors, rank image quality as the number one deciding factor before purchase (electroiq.com). Resolution also matters independently of framing: a high-resolution photo shows a conversion rate about 94% higher than a low-quality or compressed photo (grabon.com); so avoid screenshots, photos sent through messaging apps and recompressed, or digital zooms that pixelate the image.
The detail also changes the algorithmic mechanics: a more complete listing (many sharp, multi-angle photos) is objectively richer in signal for the recommendation algorithm, one of the levers detailed in our article on the Vinted algorithm in 2026. In other words, the photo is not an aesthetic detail: it is the first filter, human and algorithmic, before your price or description even come into play.
What light should you use for photos that sell?
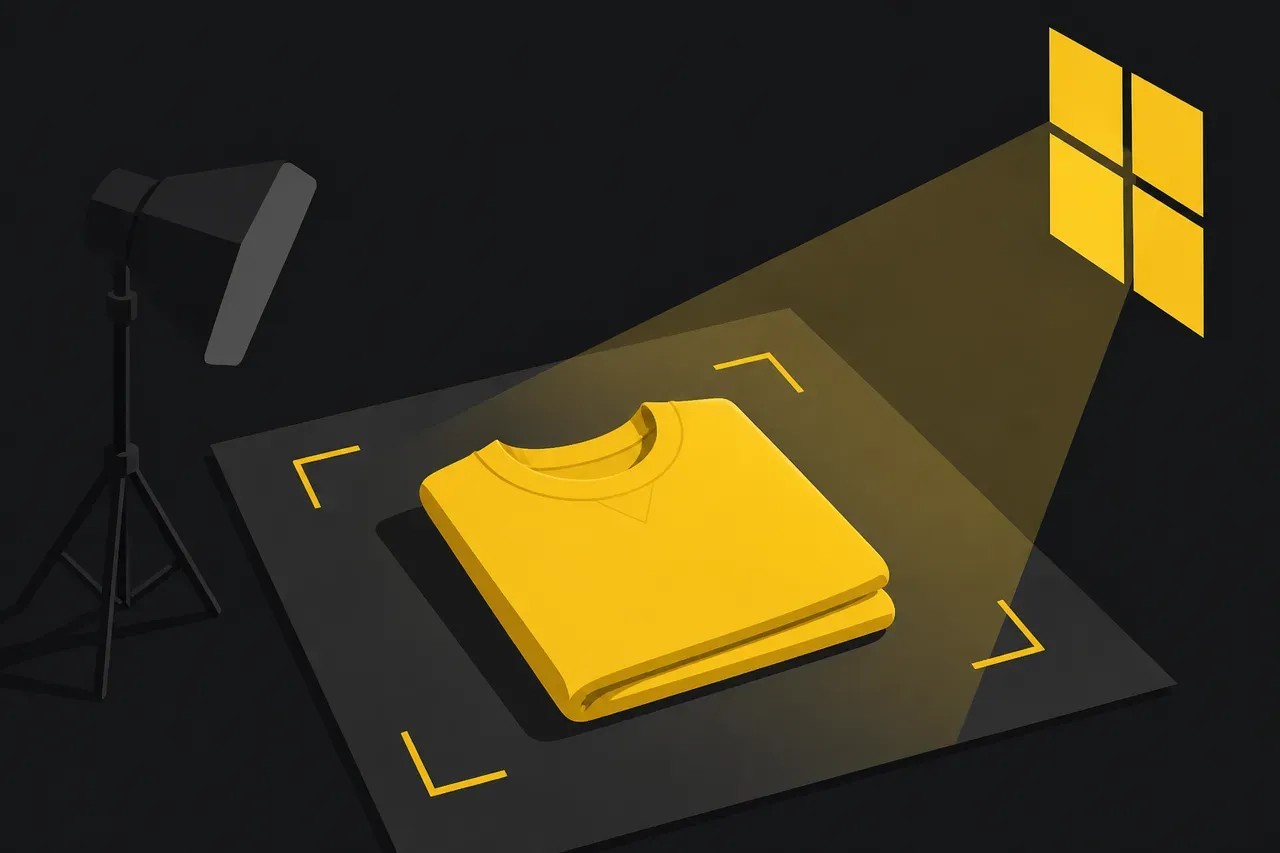
The natural light from a window, without direct sun and if possible between 10am and 4pm, gives faithful colours that no ceiling lighting reproduces properly (photo-vinted.fr). Avoid flash: it flattens colours, creates reflections on synthetic or shiny materials, and gives an "incident report" look rather than a "shop window" look.
Place your item between you and the window, never backlit. If your room is dark or you shoot in the evening, a daylight lamp (temperature around 5000-6000K) or a softbox placed at 45 degrees from the product effectively replaces natural light. This is also confirmed by professional resellers like Dresskare: natural light remains preferred, with artificial light only coming in as a stopgap in winter when the days get shorter (dresskare.com). A simple rule to remember: light comes before everything else, good lighting on a simple set always beats a carefully arranged set that is badly lit.
Which background should you choose for your listing photos?
A neutral background, with no pattern or stray object (white wall, stretched sheet, foam board) focuses attention on the item and increases perceived value: a clean background gives a "shop" impression, which justifies a higher price in the buyer's eyes (photo-vinted.fr).
Pure white suits coloured or dark pieces. For a white or very light garment, prefer a light grey or beige background, otherwise the contrast is missing and details of the cut are lost. Absolutely avoid: the unmade bed, the tiled floor, the patterned rug, or the background of your messy bedroom; these are the three most frequent mistakes among beginner sellers, and they are fixed in five minutes with a simple stretched sheet.
On the shooting side, a recent smartphone is more than enough: no need for a reflex camera. Frame at the height of the product rather than from above, keep a steady distance so as not to distort the garment's proportions, and never use digital zoom, cropping afterwards in post-production gives a much better result than a zoom that pixelates the image at the time of shooting.
Which angles should you photograph to reassure without effort?
The minimum pack comes down to five shots: the front, the back, a zoom on the label (brand, size, composition), a close-up of the material or texture, and any flaw if the item is not new. These five angles answer the questions the buyer asks themselves before even asking them in a message, which mechanically reduces pre-sale exchanges and speeds up the purchase decision.
For a vintage or premium piece, add the signature details: seam, embroidered logo, lining, buttonhole. These are exactly the angles an expert buyer looks for, the one who knows the brand and checks authenticity before paying.
Should you show flaws in your photos?
Yes, systematically, it is counter-intuitive but it is precisely what makes things sell faster and without a hitch after the sale. Honesty pays: every flaw mentioned must be photographed, not just described in text, so that the buyer knows exactly what they are buying before confirming their order.
This is also the principle defended by buy-back platforms like onceagain, where buyer-seller trust rests on total transparency, a necessary condition given the risk of dispute inherent in second-hand selling between individuals (onceagain.fr). A garment with a small snag clearly shown in the photo, described honestly and sold at the right price, often sells faster and without a complaint than a "hidden" item that ends up in a dispute or a return because the buyer discovers the flaw on receipt. To align the price with the real condition of the piece, our article on how to set the right price to sell fast complements this logic well.
On-model photo, flatlay or hanger: which one should come first?
The first photo is the most important of all: it is the thumbnail that appears in the feed and in search results, the one that decides whether the buyer clicks or moves on to the next listing. It must be the one that sells best, not necessarily the most complete.
A worn piece triggers an immediate projection in the buyer: the brain visualises the result on a body, which an item laid flat does not allow. On Vinted, the engagement gap is spectacular: up to 85 favourites for a worn piece against 2 for the same piece shown on a hanger, a ratio of about 40 to 1 (vintedcrm.com). The downside: it is time-consuming at scale, hard to keep up across dozens of items a week.
The flatlay (item laid flat, neatly folded, on a neutral background) is the volume solution: quick to shoot, easy to standardise, compatible with automatic cutout. Its limit: less visual volume, a less readable cut, so lower engagement. The compromise that works best for resellers who publish a lot: mostly cutout flatlays for the bulk of the stock, complemented by a few on-model or human-model photos for high-potential pieces. An exception to know: on Vestiaire Collective, the main photo must be a flatlay on a neutral background, on-model photos being accepted only as additional photos.
Another option from a flatlay: StoFlow can generate an on-model photo on a virtual AI model, a compromise that gives the volume and the projection of a worn piece without organising a photo session or finding a model.
How do you shoot fast when you have dozens of items to publish?
Speed comes from repeatability, not improvisation. Fix your setup once and for all (same window, same background, same shooting distance), and apply the same list of angles to each item, without thinking each time. That is what distinguishes a seller who shoots 5 items an hour from one who shoots 30.
Once the raw photos are taken, the step that takes the most time by hand (cutting out the background, spotting the brand and size on the label) can be automated. StoFlow's AI photo studio automatically cuts out the background in a few seconds and reads the information visible on the label (brand, composition, size) to pre-fill the product page. And since the product page becomes the single source distributed to all your marketplaces at once, this same set of photos serves directly for crosslisting, no need to reshoot for each platform.
On capacity, a product page accepts up to 20 photos, in JPEG, PNG, WebP or HEIC formats (iPhone HEIC photos are converted automatically). And if a cutout does not suit, the original photo remains available and is restored in one click: no risk of losing the starting file. On the Free plan, StoFlow includes 300 AI cutouts a month, enough to cover the output of a seller who is starting out without counting every image.
Good photos, good price: do the two go together?
Yes, and they reinforce each other. A photo that inspires confidence justifies a higher price, the buyer perceives a serious seller and pays the fair price more willingly rather than negotiating downwards out of mistrust. Conversely, the best photo in the world never makes up for an out-of-market price: it brings the click, but it is the price that triggers the purchase.
Once your photo setup is in place, the logical next step is to check that your price follows the same standard of rigour: our guide to setting the right price and selling fast details how to calibrate this price without guessing by instinct. A photo that inspires confidence, a price that does not scare people off, an honest description: it is the combination that turns an ignored listing into an item sold within the week, on Vinted as on any other marketplace you distribute to.